【Swift4】xibファイルでViewを作成してStoryboardで使用する方法
xibファイルでUIViewを作成し、Storyboardで再利用できる部品となるクラスファイルを作成する方法です。
実装手順
1.カスタムクラス(swiftファイル)とxibファイルを作って紐づける
2.xibファイルに紐づけたカスタム(swiftファイル)にxibファイルを読み込むコードを記述する
3.Storyboardでxibに紐づけたカスタムクラスを配置する
1. カスタムクラス(swiftファイル)とxibファイルを作って紐づける
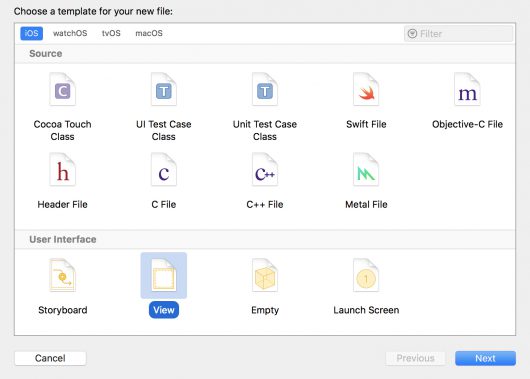
1-1. カスタムクラス(swiftファイル)を作る
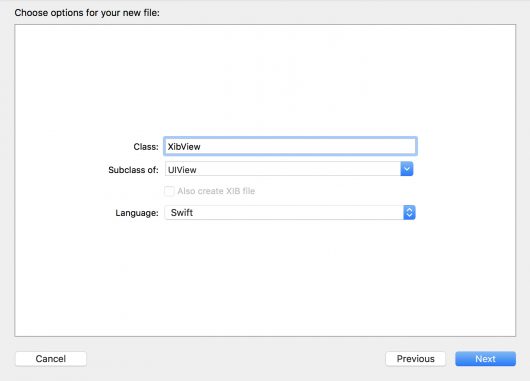
xibファイルと紐づけるカスタムクラス(swiftファイル)を作成していきます。
今回はUIViewクラスを継承した「XibView」というクラス名で作成してきます。
1-2. xibファイルを作る
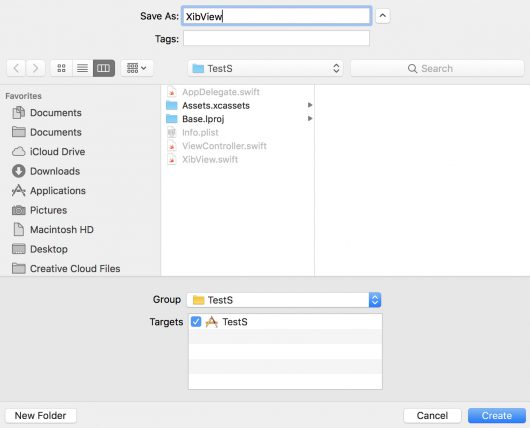
カスタムクラス(swiftファイル)と紐づけるxibファイルを作成していきます。
今回はカスタムクラスを「XibView」というクラス名で作成したので、xibファイル名もわかりやすく「XibView」という名前で作成してきます。
これで「XibView.swift」と「XibView.xib」ができました。
1-3. カスタムクラス(swiftファイル)とxibファイルを紐づける

xibファイルのFile's OwnerのCustom Classに「XibView」を設定します。
1-4. xibファイルの中身を配置
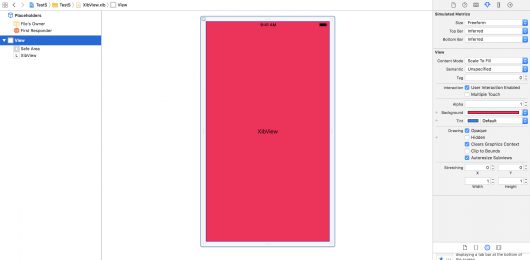
今回は以下の設定のみを行なっています。
・Viewの背景を赤色に変更
・UILabelを追加して「XibView」というタイトルに変更
・UILabelの文字をセンタリング(中央寄せ)する
・UILabelのAoutLayoutを設定する
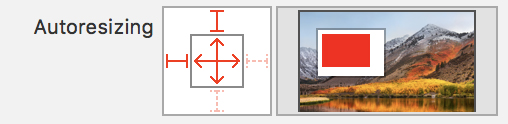
UILabelのAoutLayoutはこのように設定しました。
2. xibファイルに紐づけたカスタム(swiftファイル)にxibファイルを読み込むコードを記述する
import UIKit

class XibView: UIView {

    // コードから生成した時の初期化処理
    override init(frame: CGRect) {
        super.init(frame: frame)
        self.nibInit()
    }

    // ストーリーボードで配置した時の初期化処理
    required init?(coder aDecoder: NSCoder) {
        super.init(coder: aDecoder)
        self.nibInit()
    }

    // xibファイルを読み込んでviewに重ねる
    fileprivate func nibInit() {

        // File's OwnerをXibViewにしたので ownerはself になる
        guard let view = UINib(nibName: "XibView", bundle: nil).instantiate(withOwner: self, options: nil).first as? UIView else {
            return
        }

        view.frame = self.bounds

        view.autoresizingMask = [.flexibleHeight, .flexibleWidth]

        self.addSubview(view)
    }

}
コードで生成した場合も、Storybboard上で作成した場もxibファイルが読み込まれるようにプログラムします。
3. Storyboardでxibに紐づけたカスタムクラスを配置する
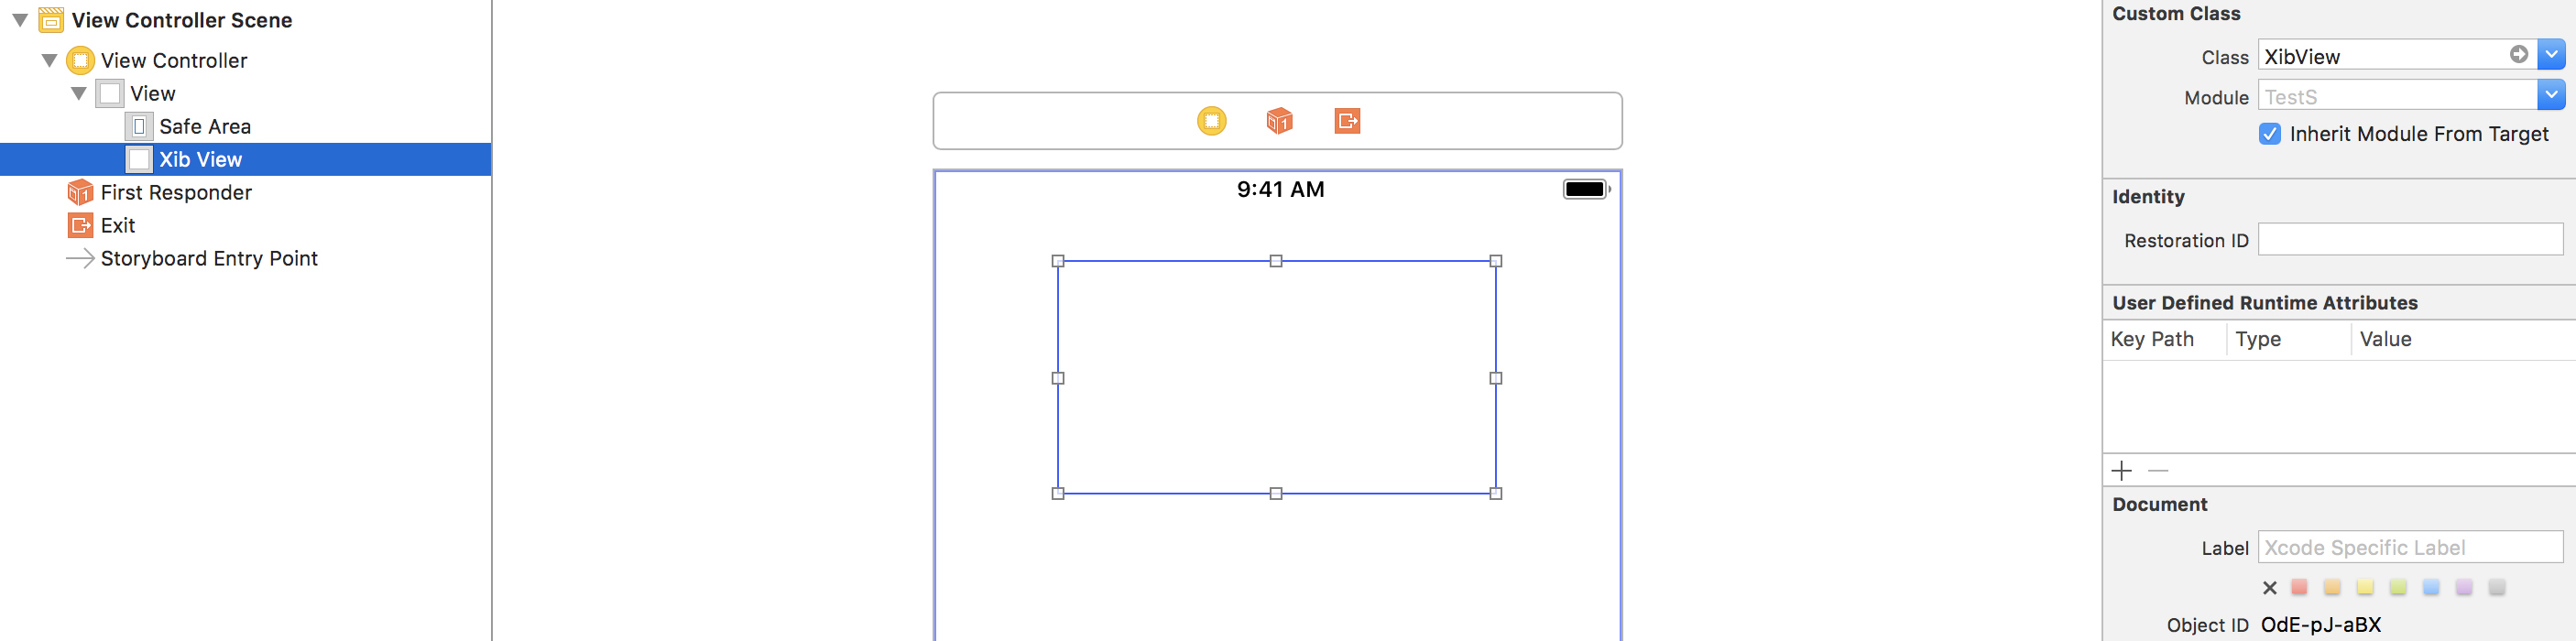
最後にxibファイルを配置したいStoryboardで、UIViewを配置した後に配置したUIViewのCustom Classを「XibView」に変更すれば設定完了です。
おまけ. 再利用できる部品となっているか確認
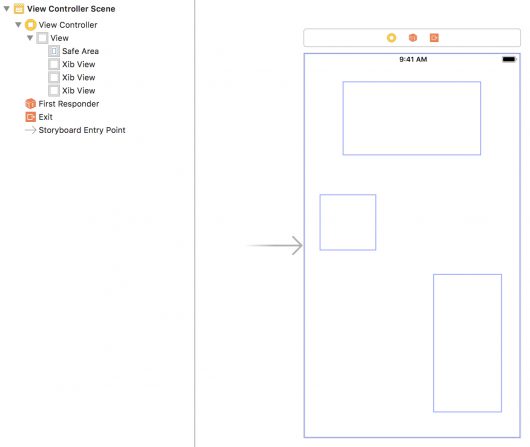
xibファイルを3つサイズをバラバラにして配置してみました。
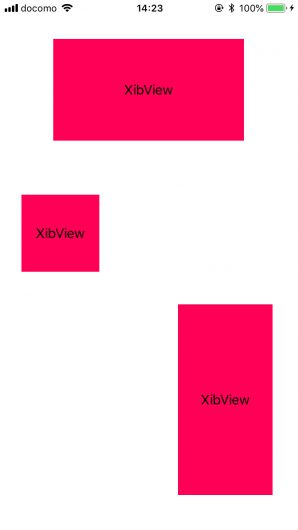
実行結果はこのようになります。
ちゃんとオートレイアウトも効いていますね!