【Swift5】StoryboardでUITabBarのアイコン画像を設定する方法【Objective-C】
StoryboardでUITabBarの画像の設定方法をご紹介します。
- TabBarに設定するアイコン画像を用意する
- Storyboardでアイコン画像を設定する
1. TabBarに設定するアイコン画像を用意する
TabBarに設定するアイコン画像を用意います。
画像のサイズは以下になります。


| @1x | 30 x 30 |
| @2x | 60 x 60 |
| @3x | 90 x 90 |
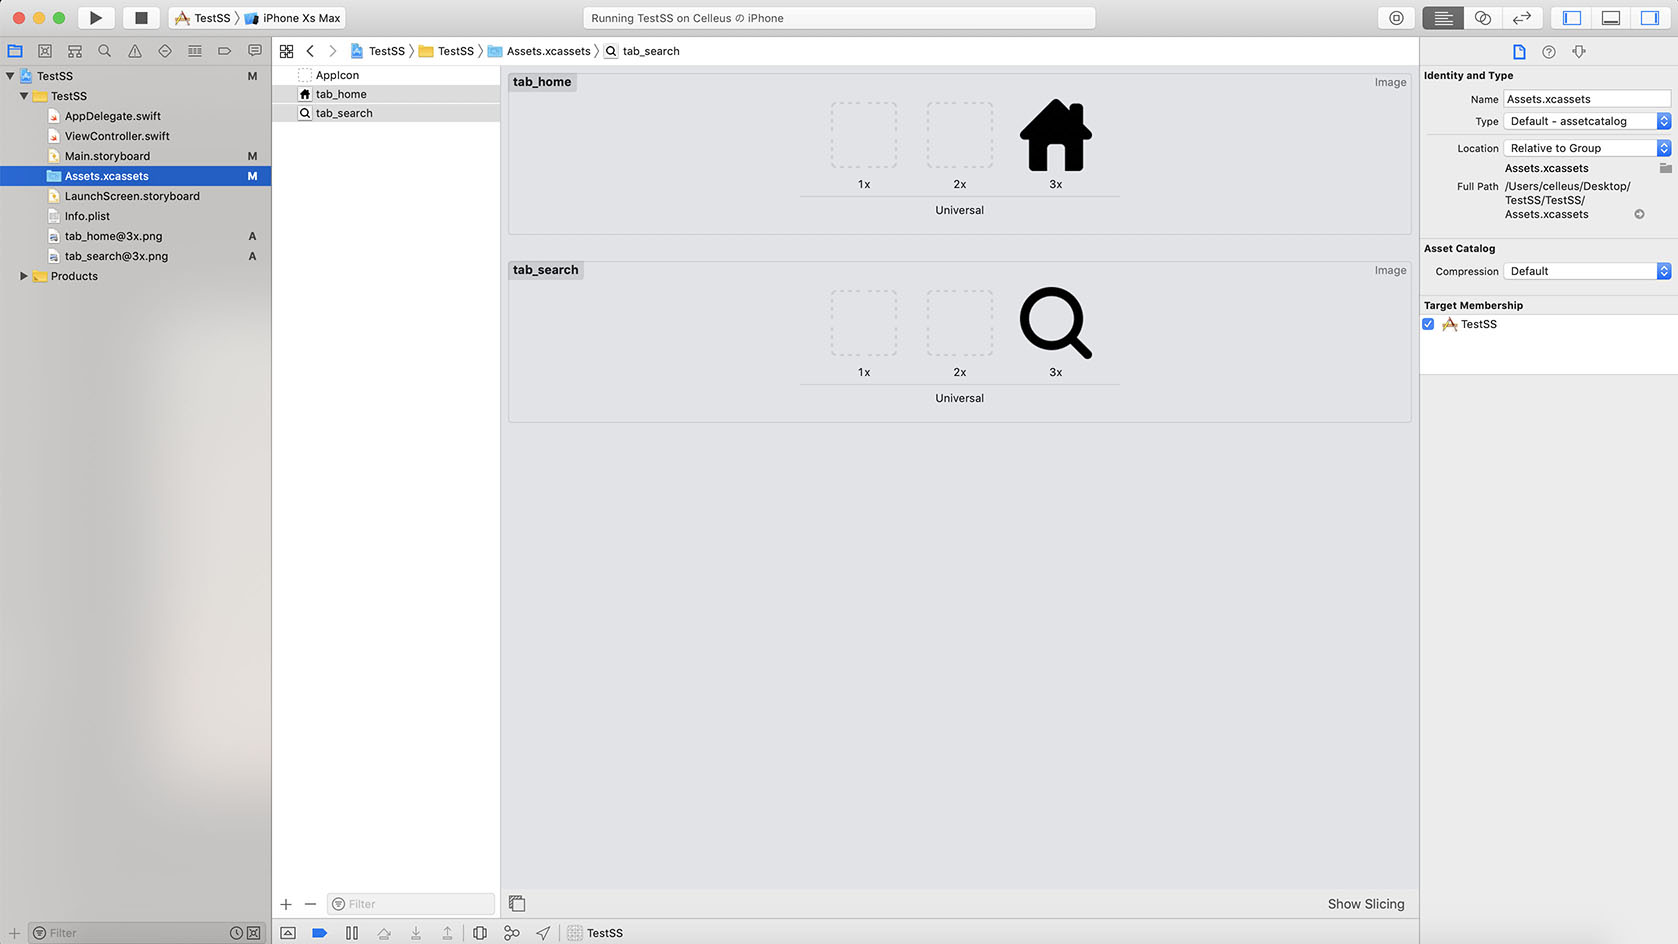
画像が用意できたらAssets.xcassetsに追加します。
tab_home@3x.png
tab_search@3x.png
という命名で2つの画像を用意しAssets.xcassetsに追加しました。
2. Storyboardでアイコン画像を設定する
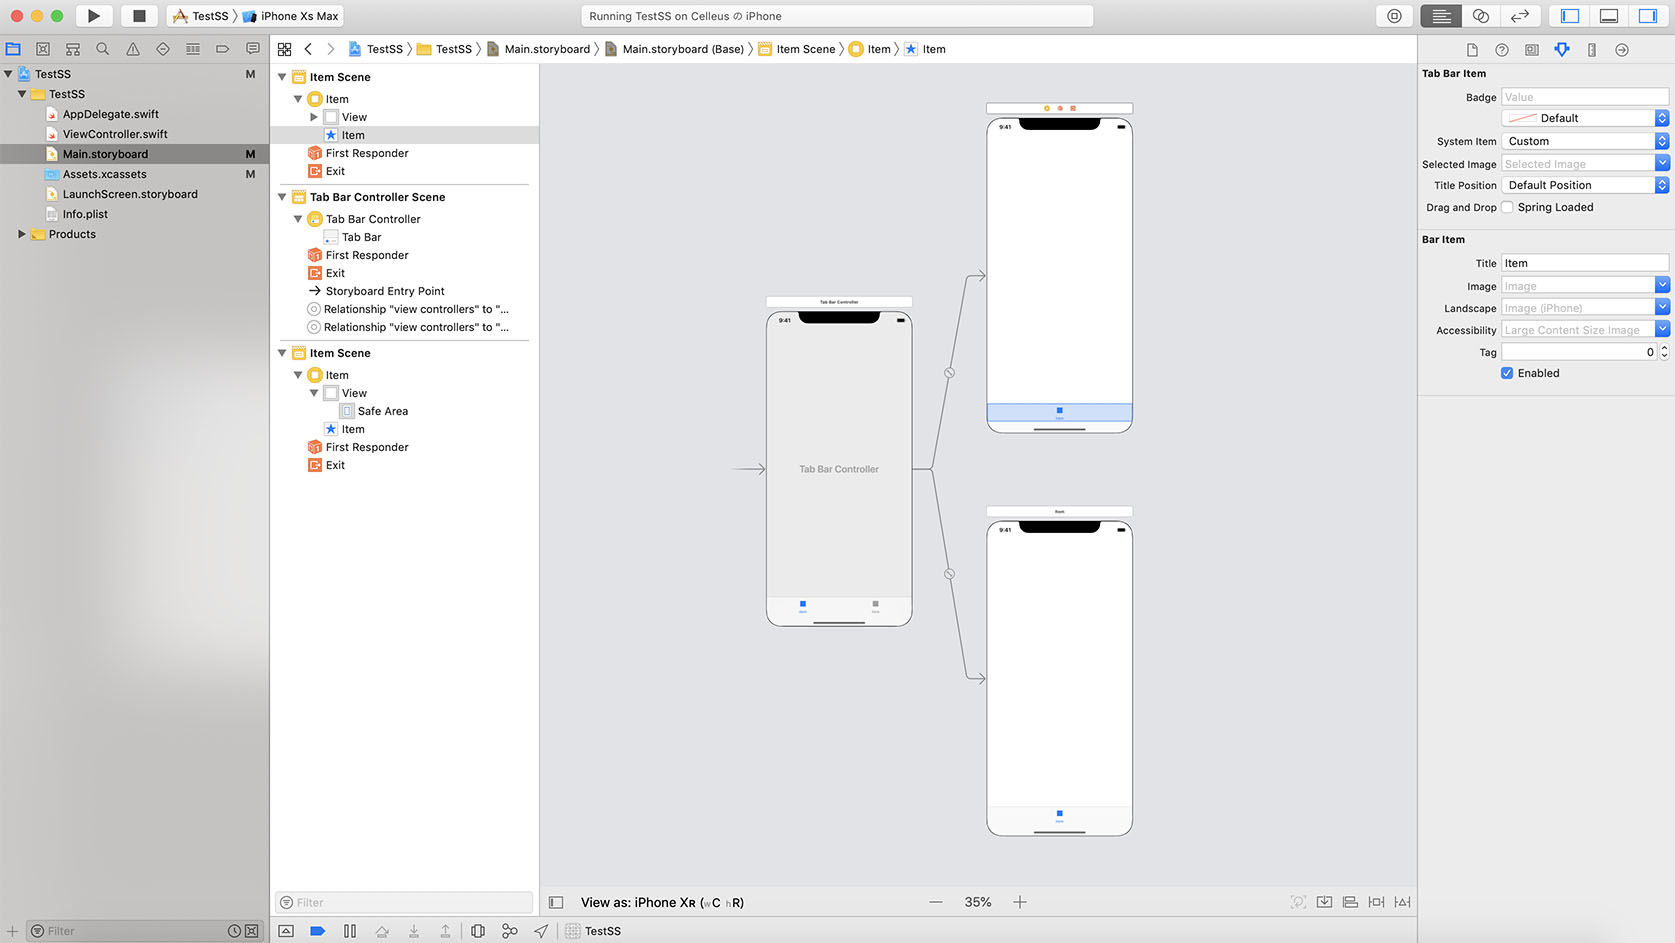
アイコンの準備ができたらStoryboardに戻ります。
アイコンを設定したいViewControllerのBarItemを選択します。
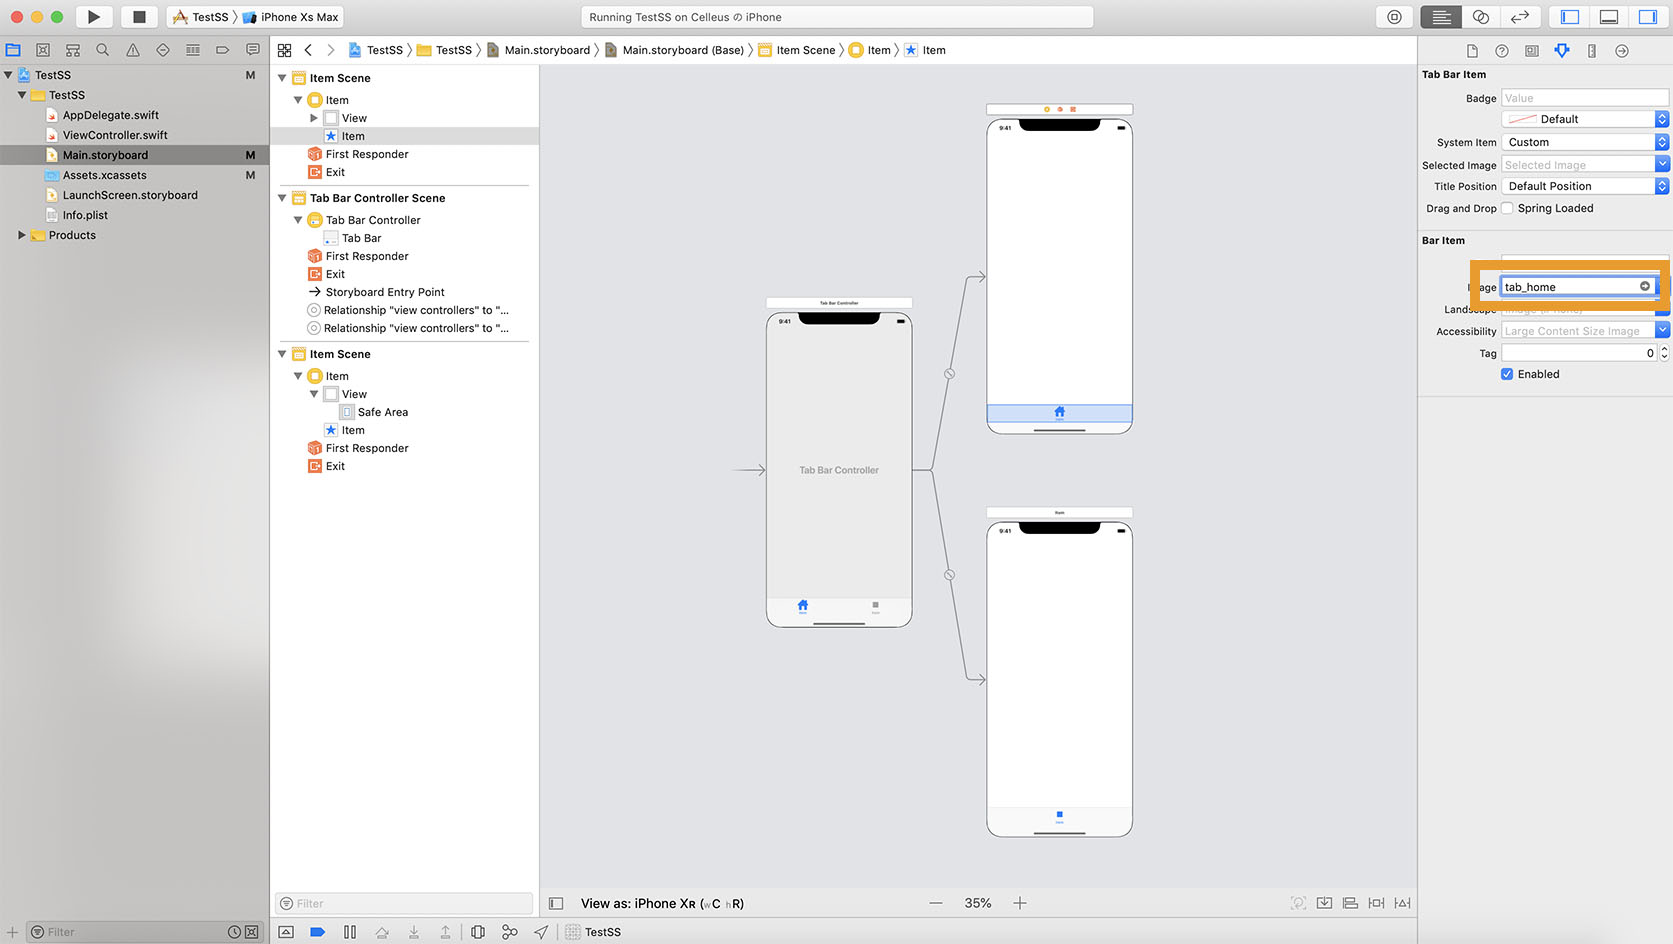
BarItemを選択したら右側にあるBarItemの設定のImageに先ほど追加した画像名を設定します。
「tab_home@3x.png」という命名で画像を作りAssets.xcassetsに追加しましたが、ここでの設定では「tab_home」となります。
@3x.pngの部分は省略されます。
アイコン画像の設定は以上です。
しかし、これだけではTabBarのアイコン画像も文字も選択時は青、未選択時はグレーとデフォルトの色の設定のままになっています。
これを解決するためにTabBarアイコン画像と文字の色はStoryboardではなくプログラムによって変更する必要があります。
詳しくはUITabBarのタイトル文字の色の変更方法、UITabBarのアイコン画像の色の設定方法でご紹介します。
関連記事