【Swift5】StorybaordでUITabBarControllerを使用した画面構築の方法【Objective-C】
StorybaordでUITabBarControllerを使用した画面構築の方法をご紹介します。
以下、手順になります。
- プロジェクトの作成
- UITabBarControllerを追加する
- 新しいUIViewControllerを追加してUITabBarControllerと紐づける
iOSアプリ開発初心者の方で3分もあれば設定が可能です。
1. プロジェクトの作成
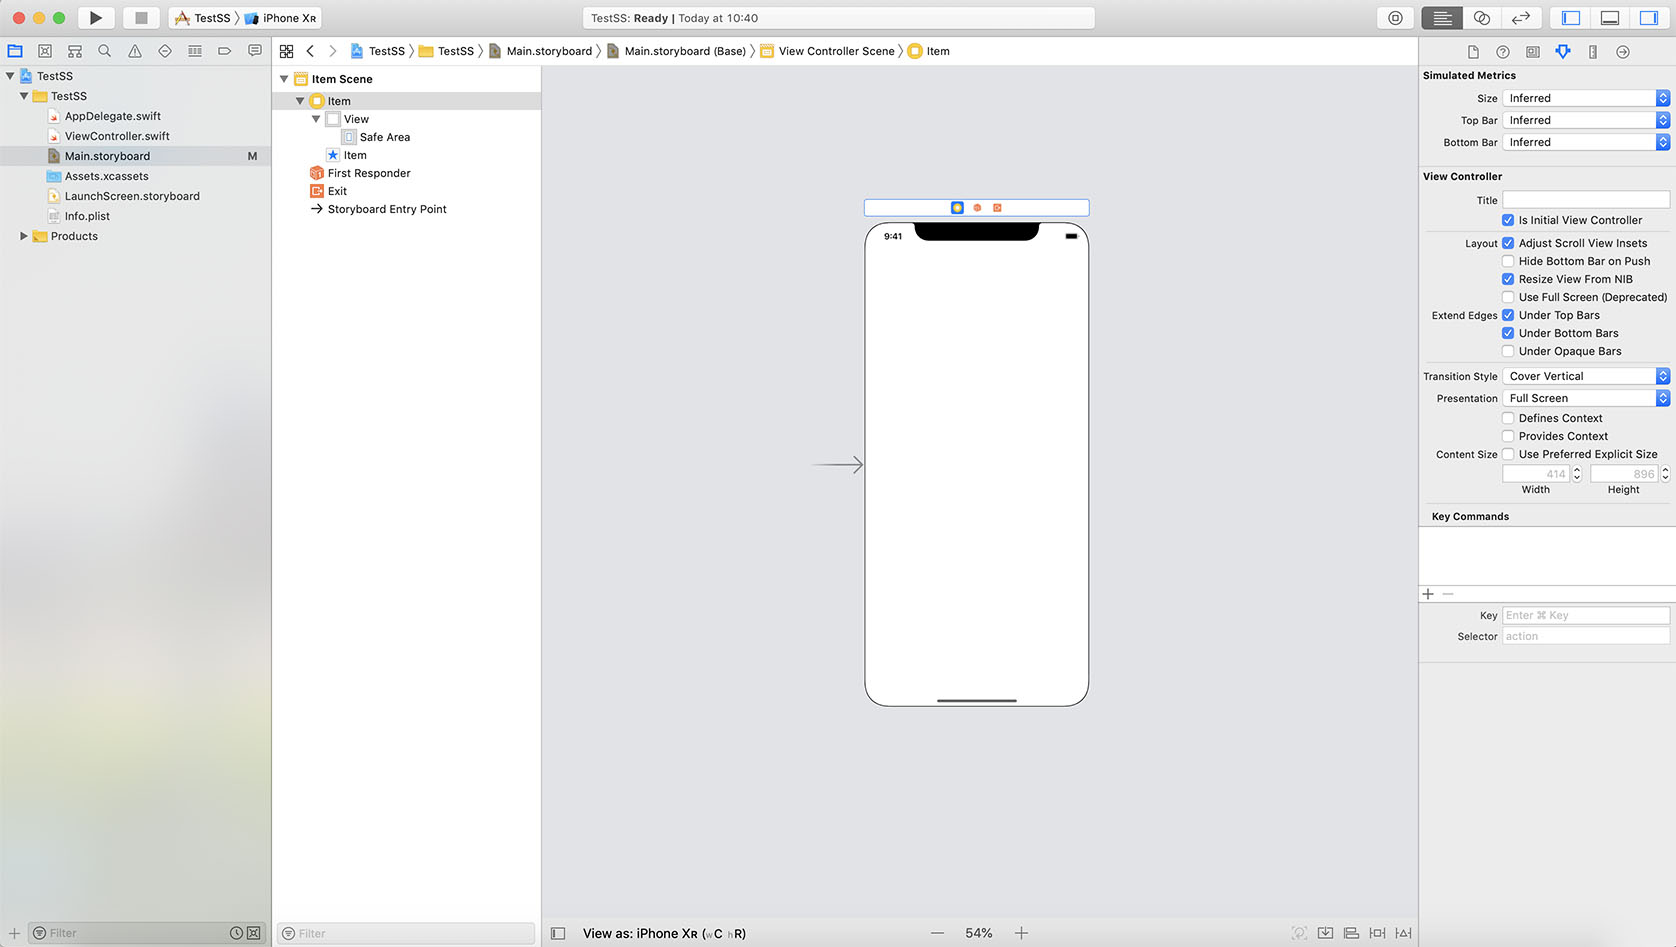
プロジェクトを作成します。
SwiftでもObjective-CでもStoryboardなので同じです。
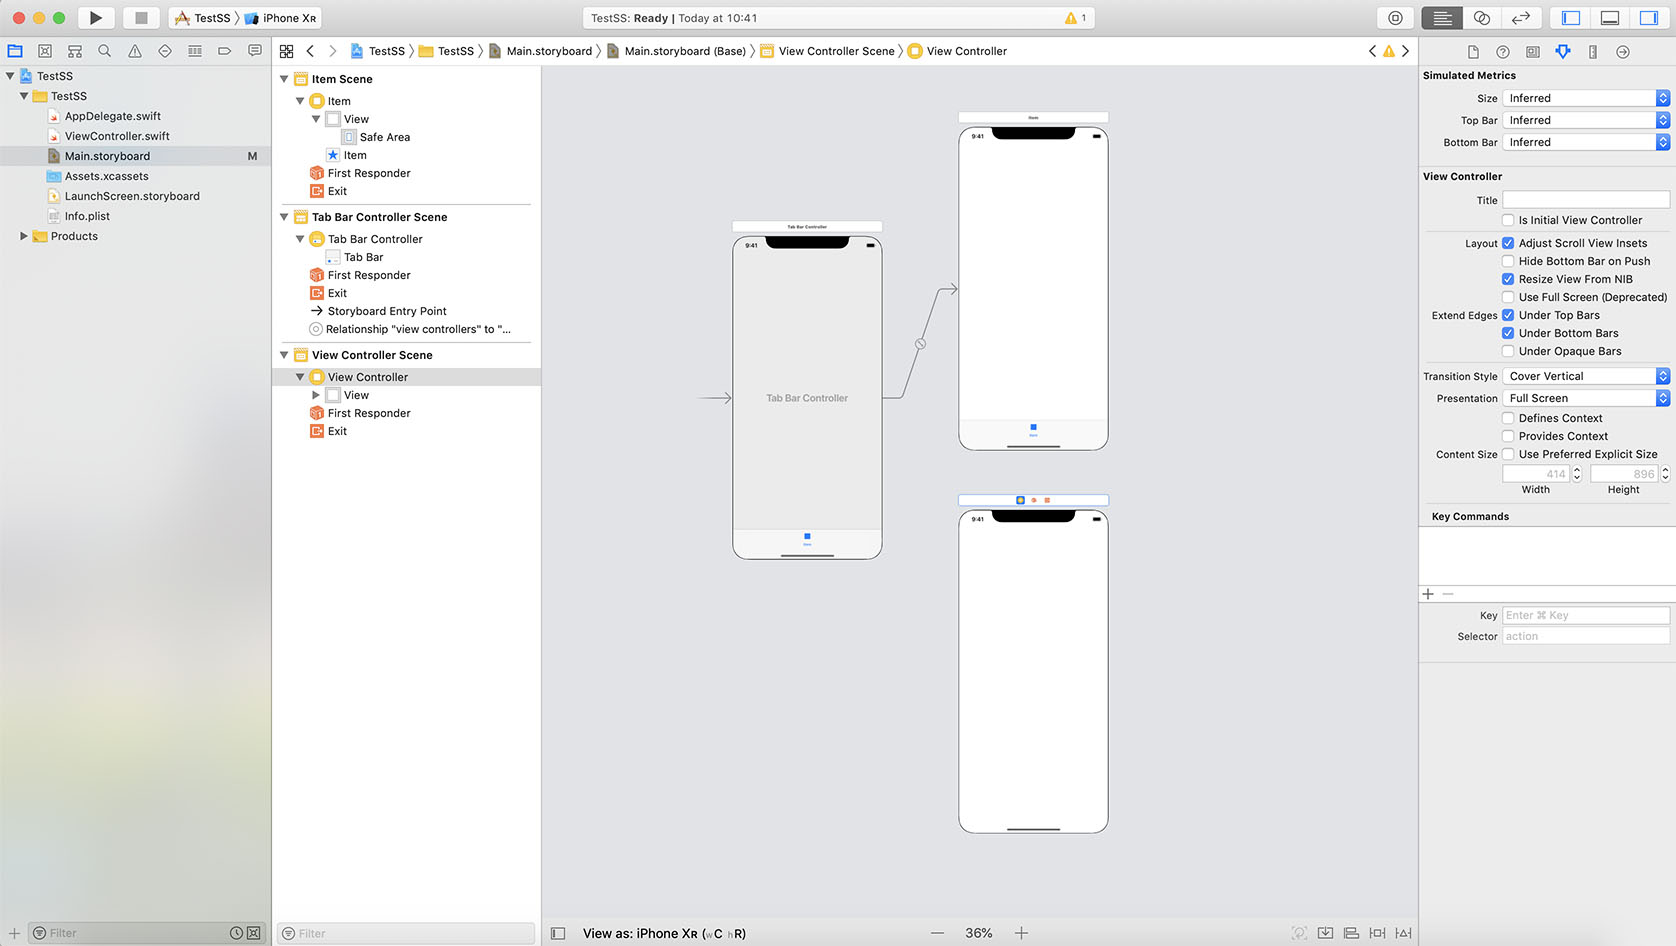
2. UITabBarControllerを追加する
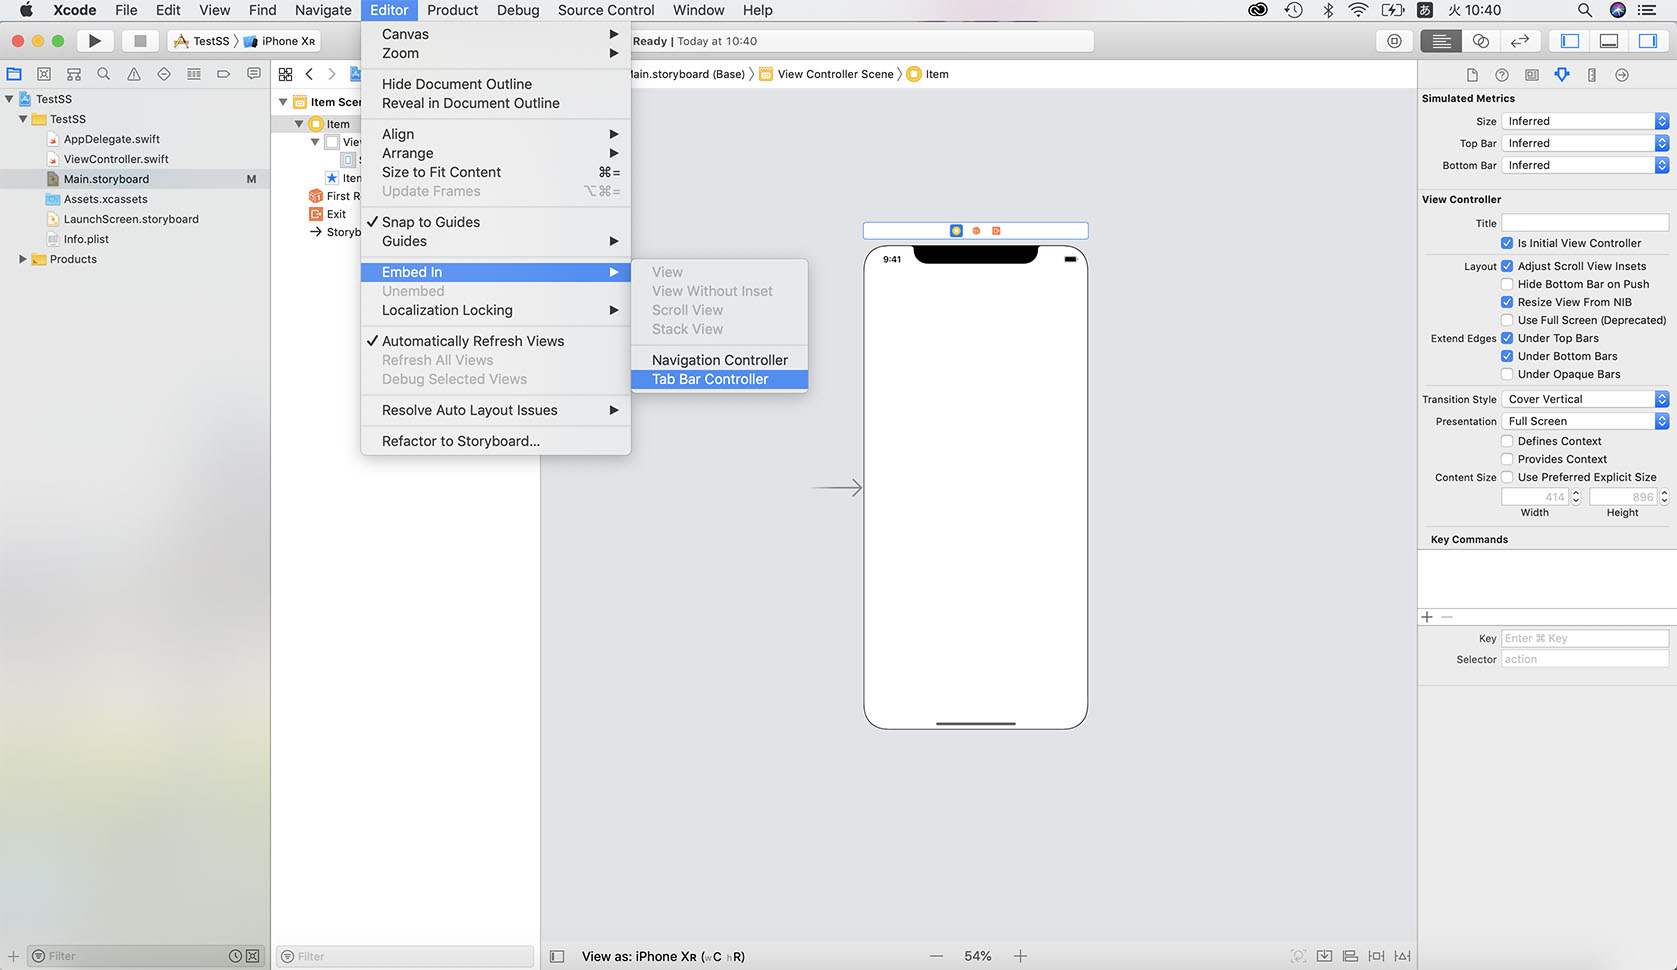
UITabBarControllerを追加するには
UITabBarControllerを設定したいUIViewControllerをStoryboardで選択した状態で
Edit > Enbeded In > Tab Bar Contorller をします。
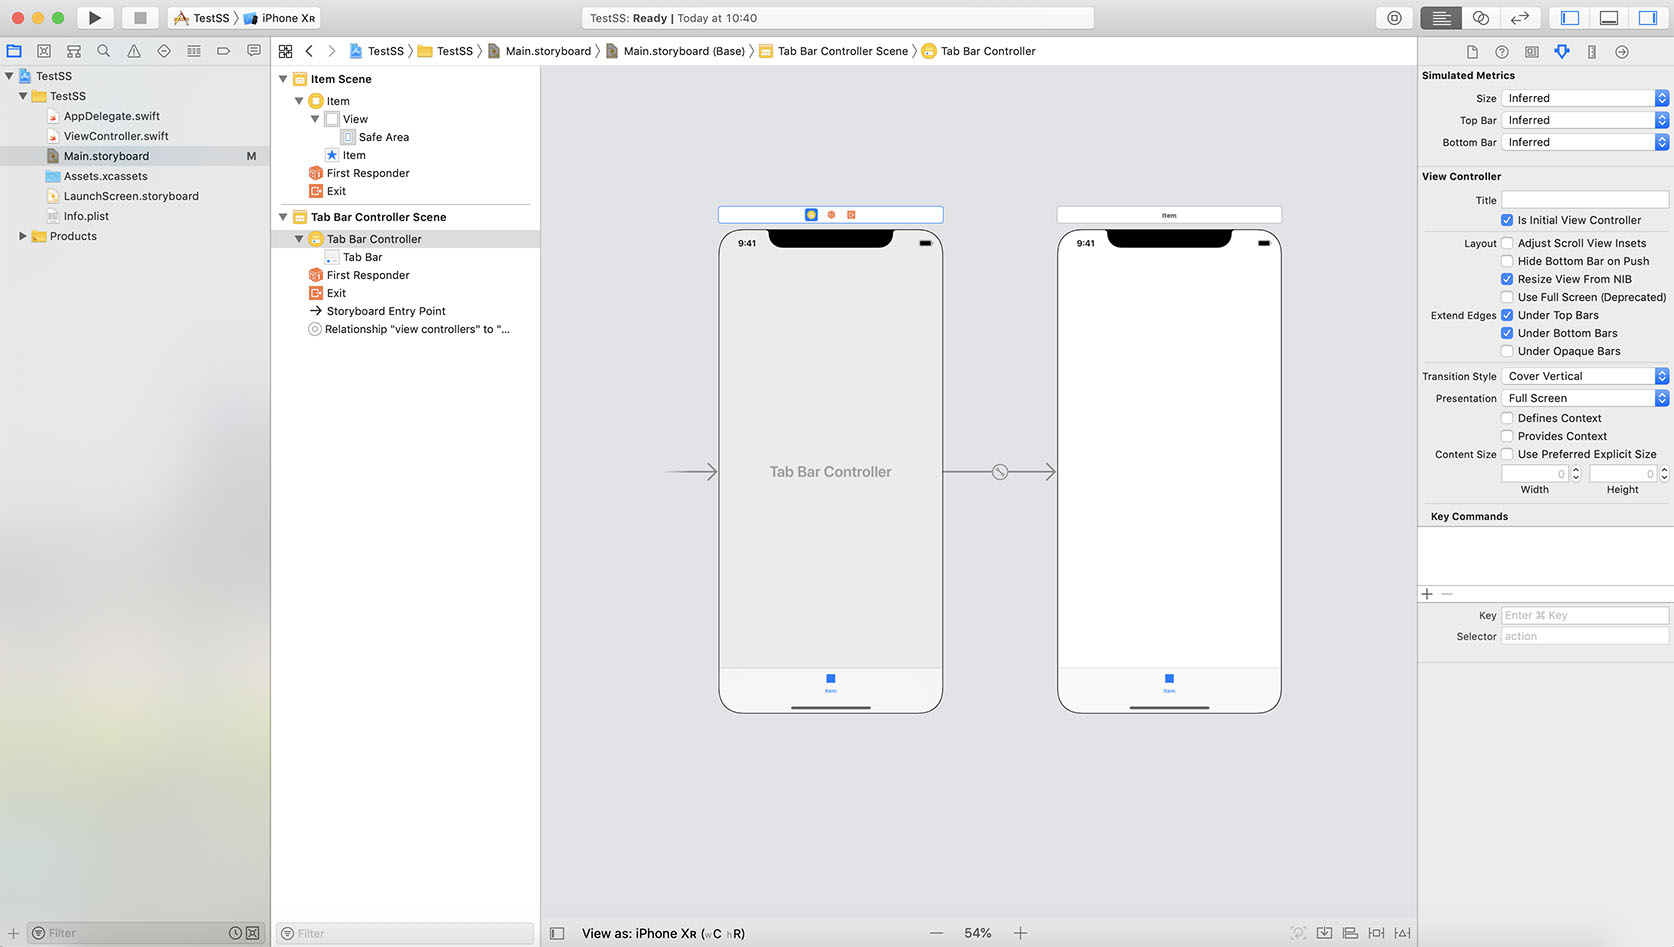
TabBarControllerが追加されるとこのようになります。
3 .新しいUIViewControllerを追加してUITabBarControllerと紐づける
2種類の方法があります。
- controlを押しながら紐づける
- Triggered Seguesのview controllersで紐づける
1の方が簡単ですがどちらでも構いません、両方ご紹介します。
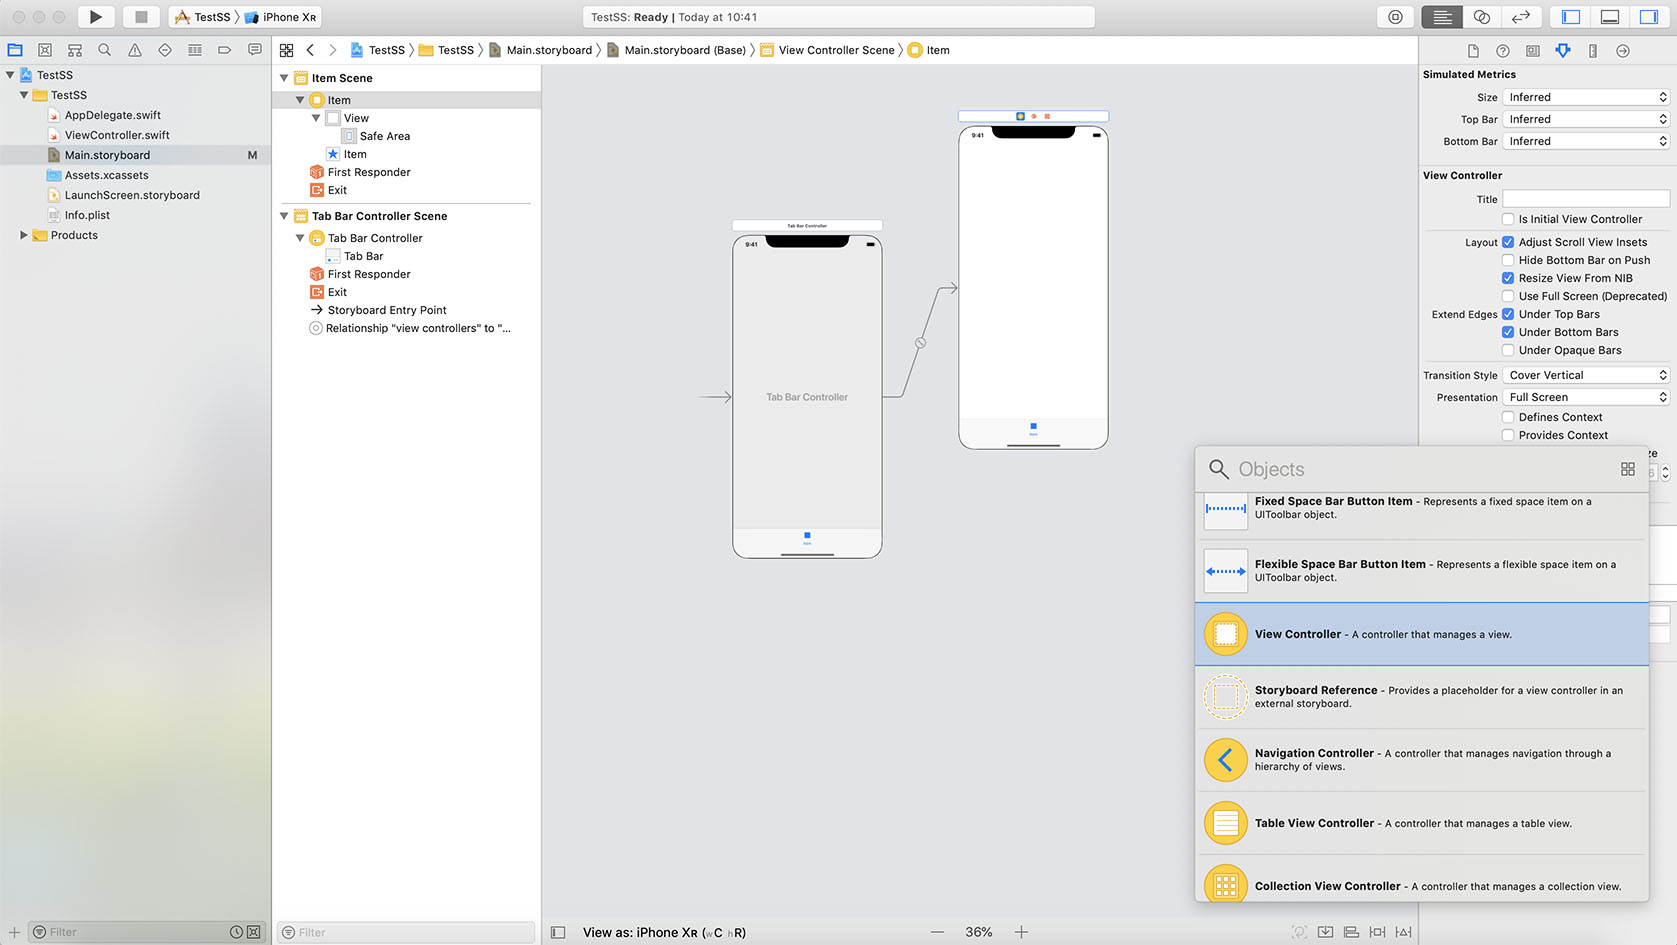
まず2つめのUIViewControllerを追加します。
ここまでが下準備です。
3-1. controlを押しながら紐づける
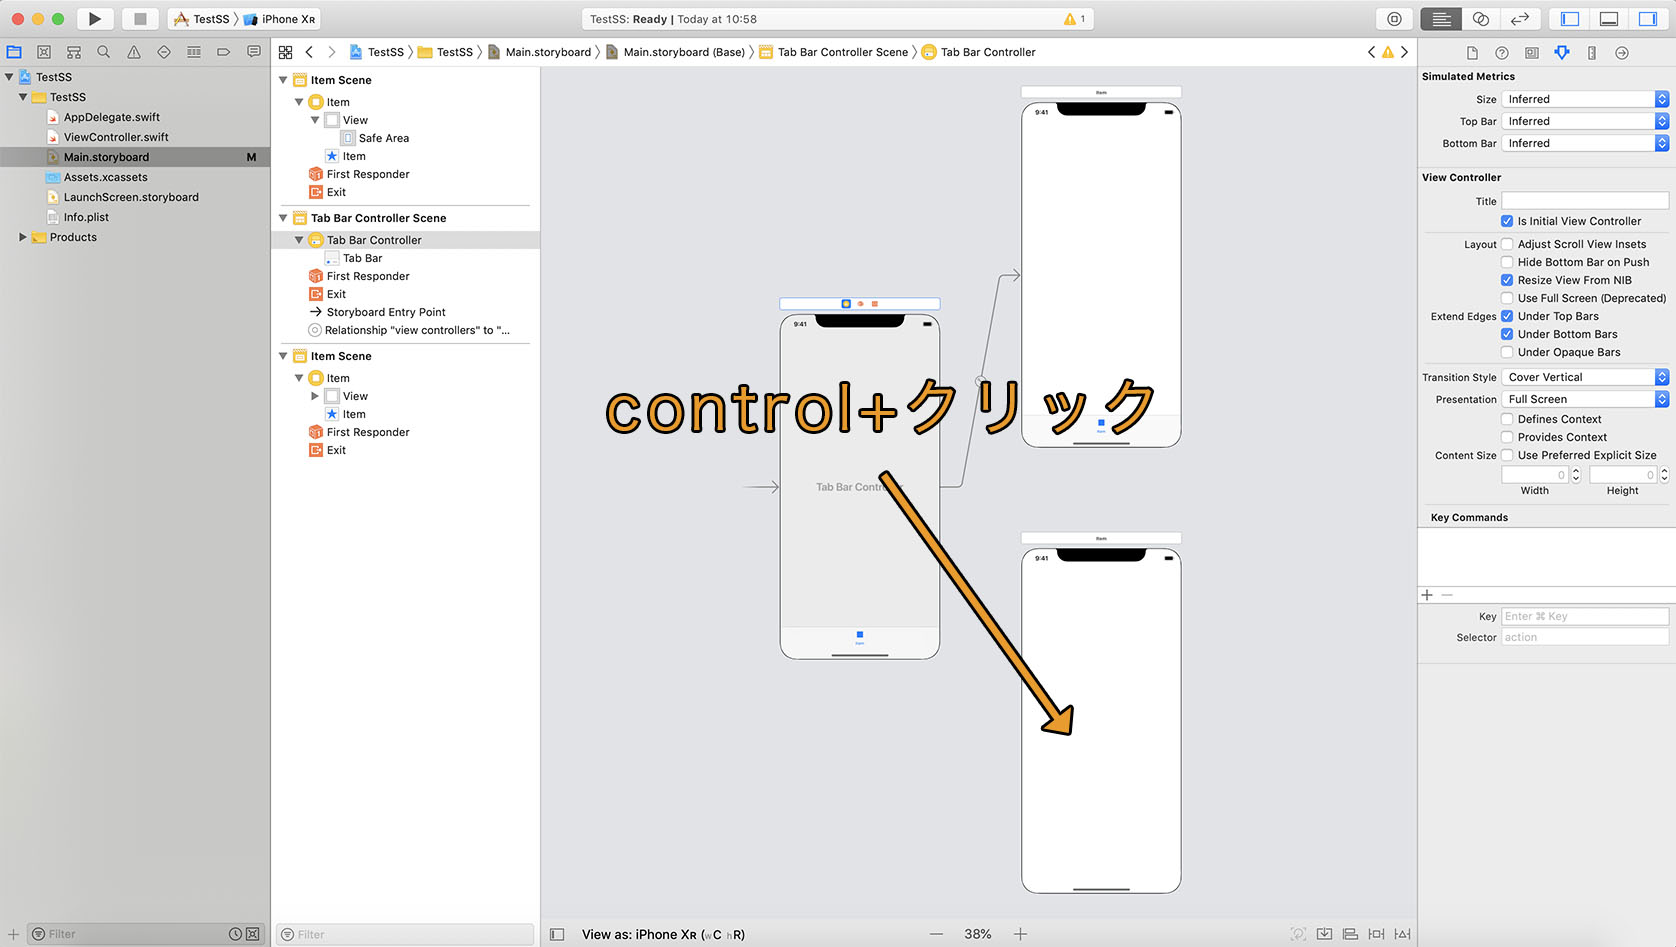
controlを押した状態で矢印のようにクリックします。
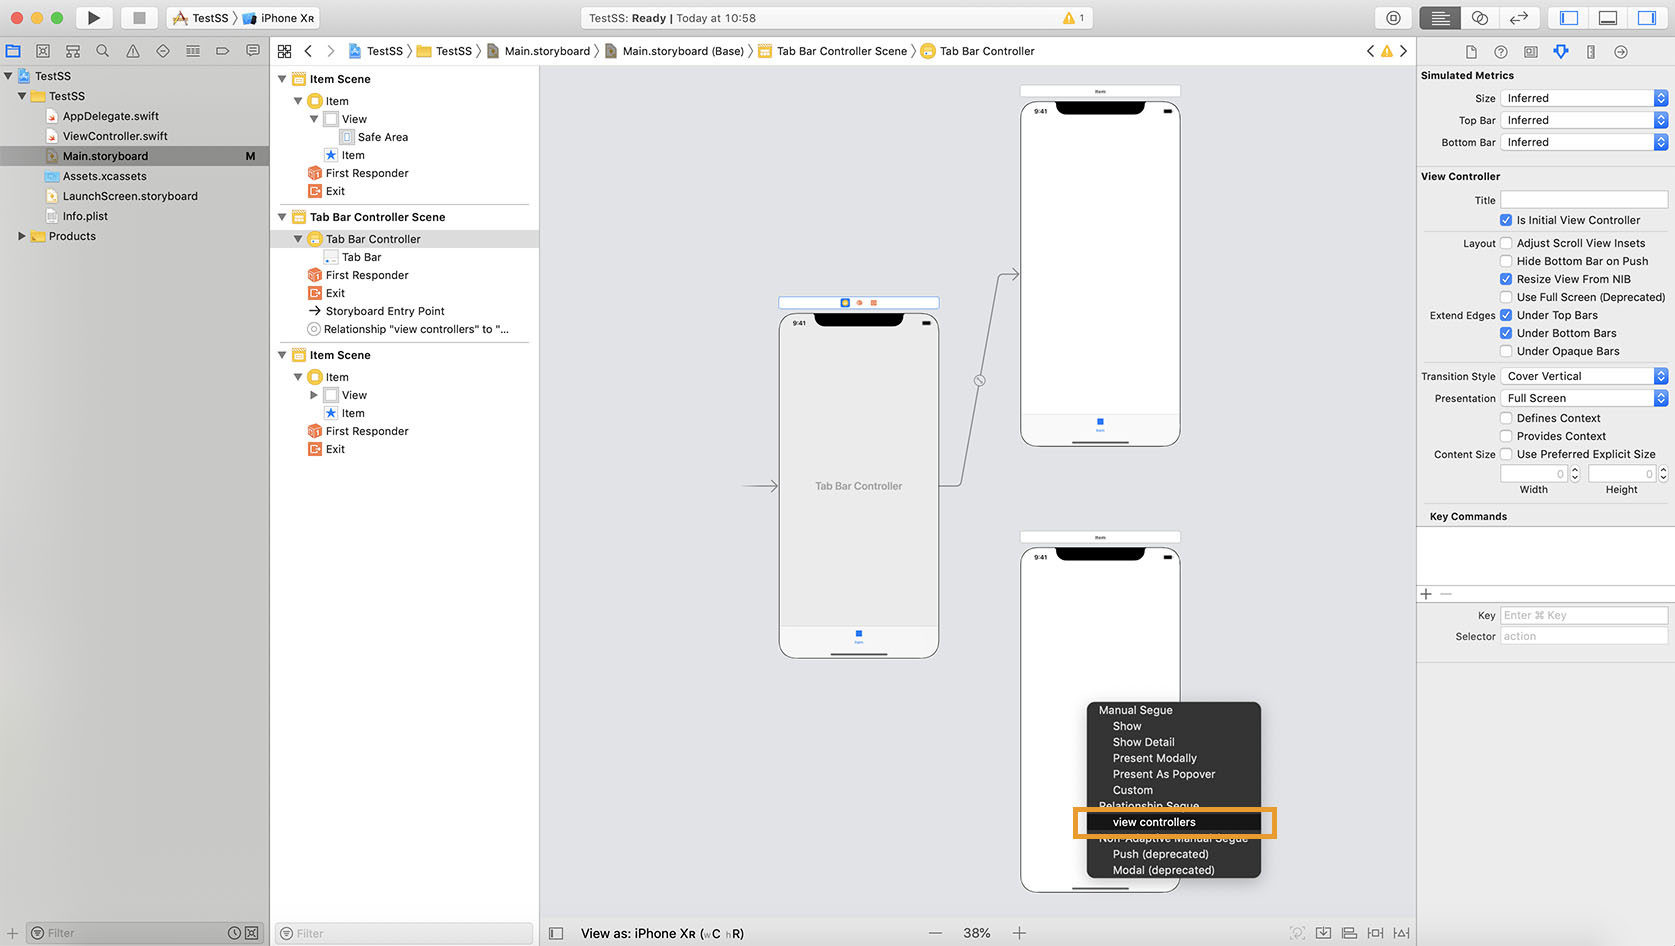
すると画面に黒い枠のウィンドウがでるので
view controllers をクリックします。
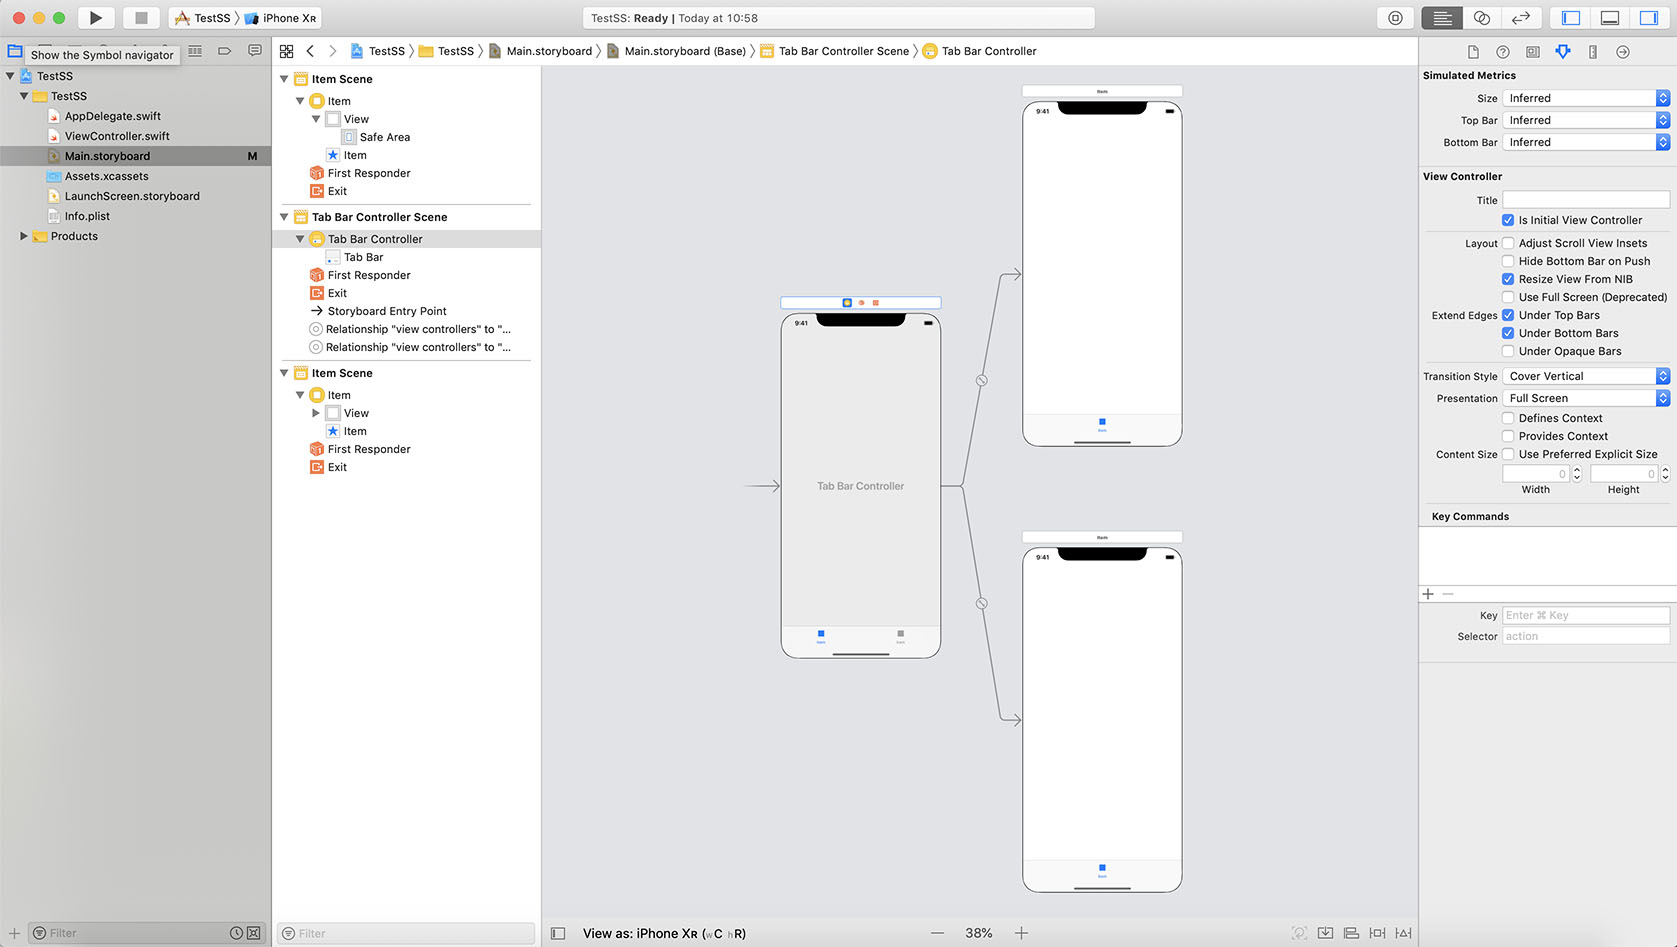
このようにTabBarControllerから2つのViewControllerに矢印の線が出るようになれば設定完了です。
続けて、Triggered Seguesのview controllersで紐づけるパターンもご紹介します。
3-2. Triggered Seguesのview controllersで紐づける
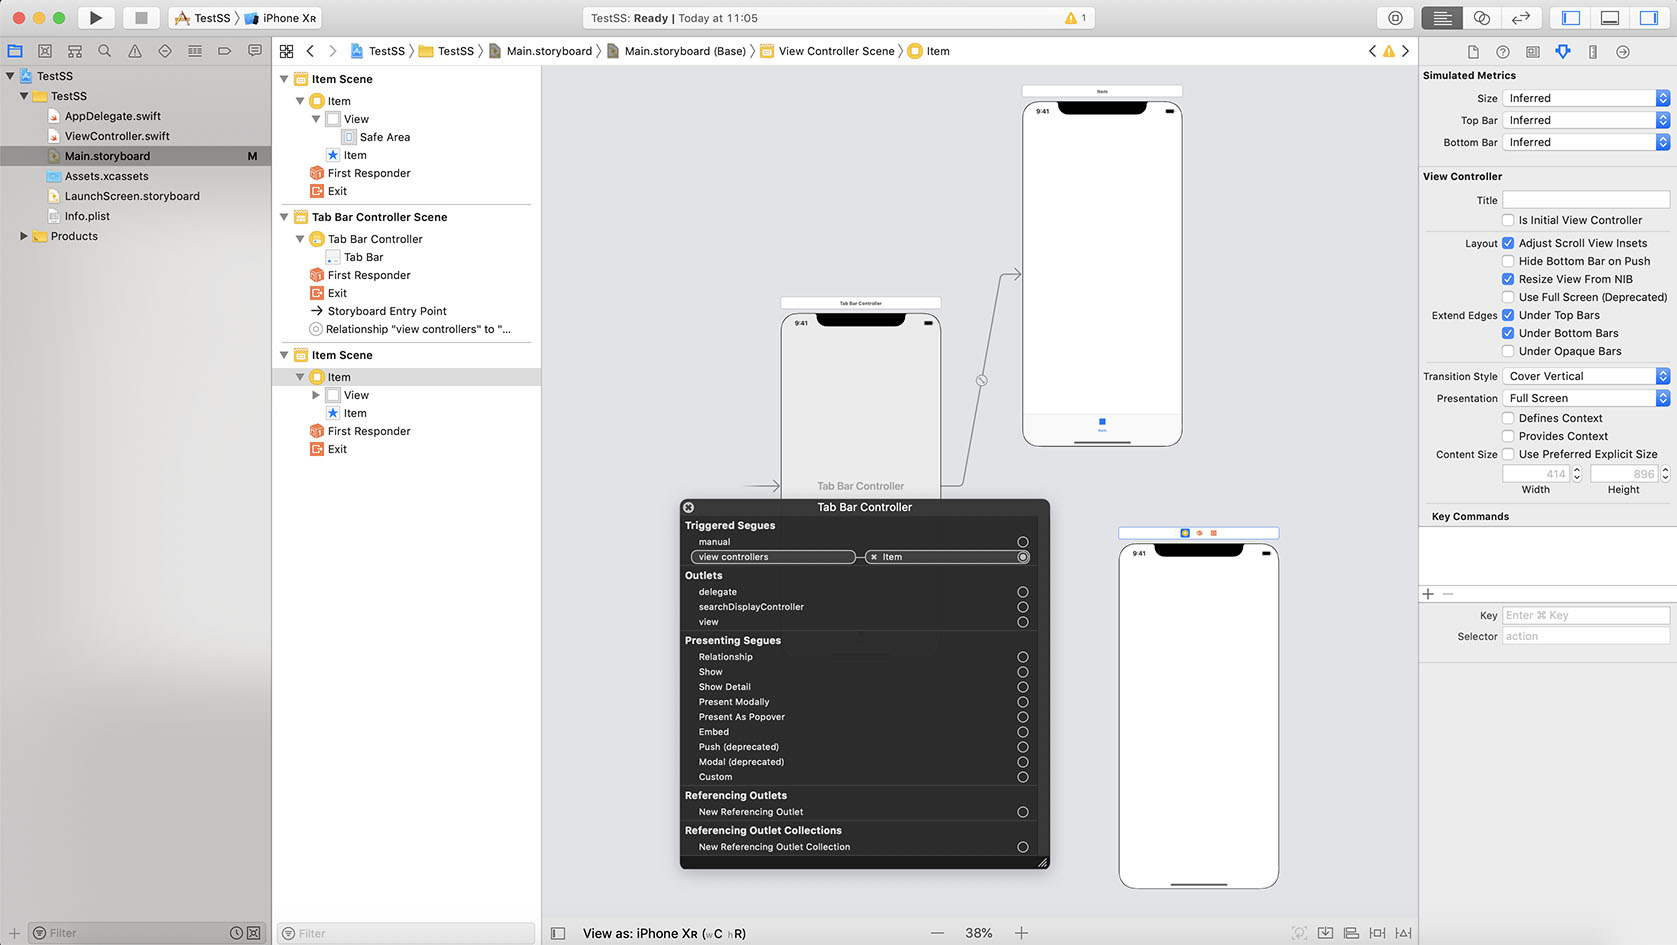
まずTabBarController上で右クリックをして黒いウィンドウをだします。
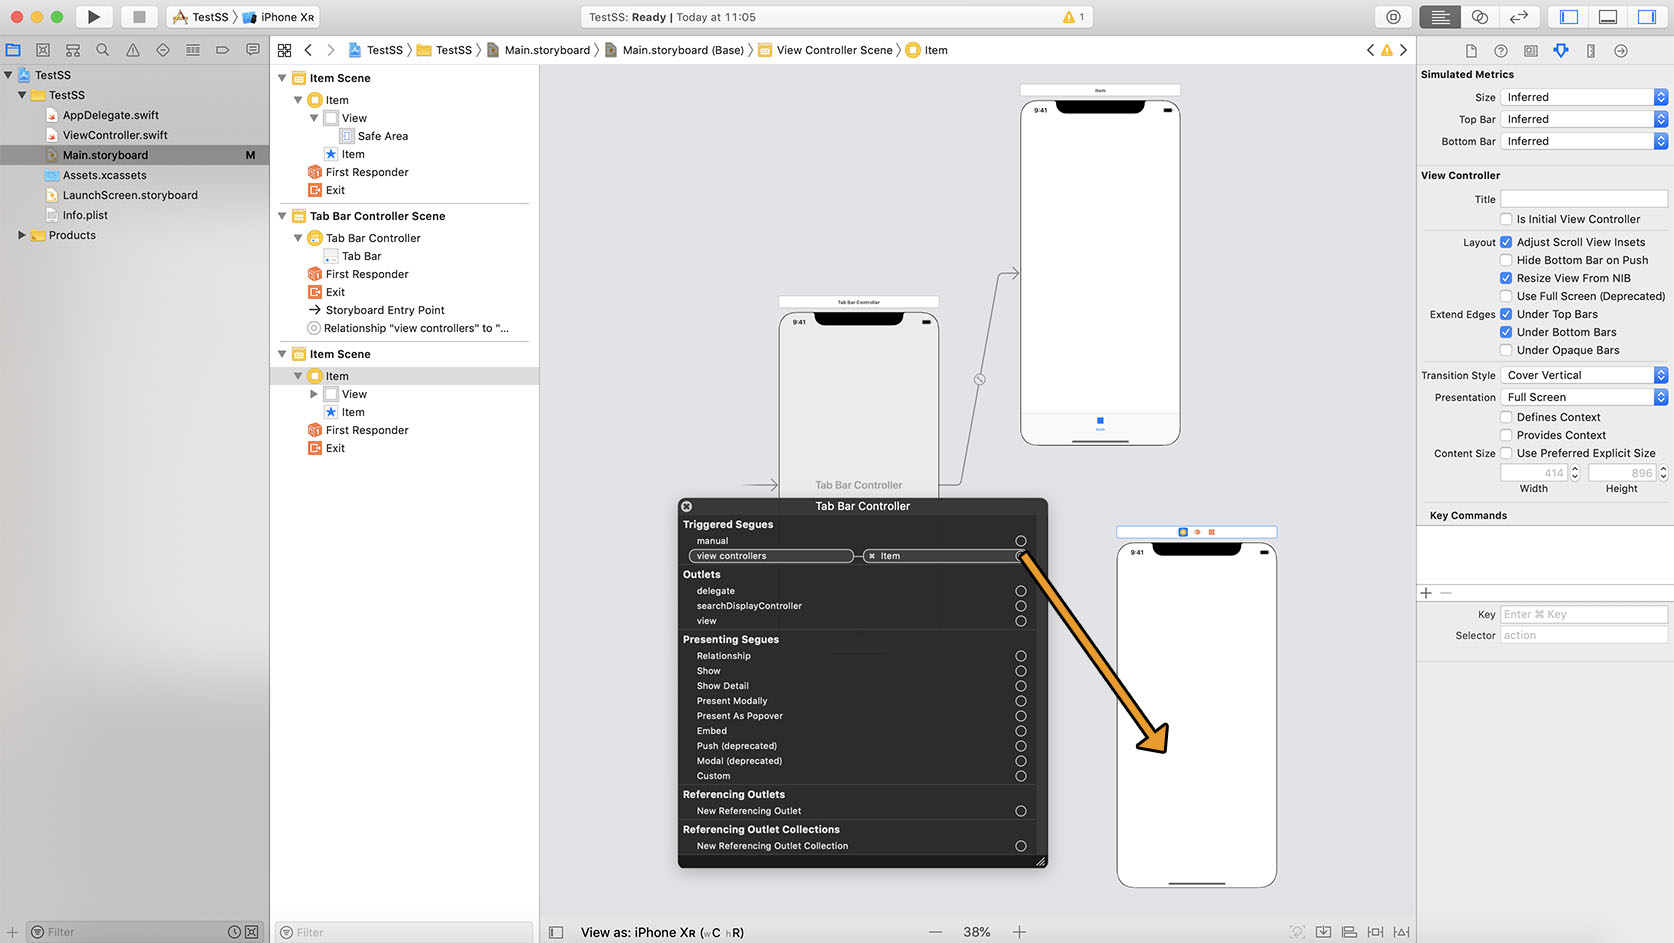
次にview controllersの●から新しく作成したViewControllerに向かってクリックします。
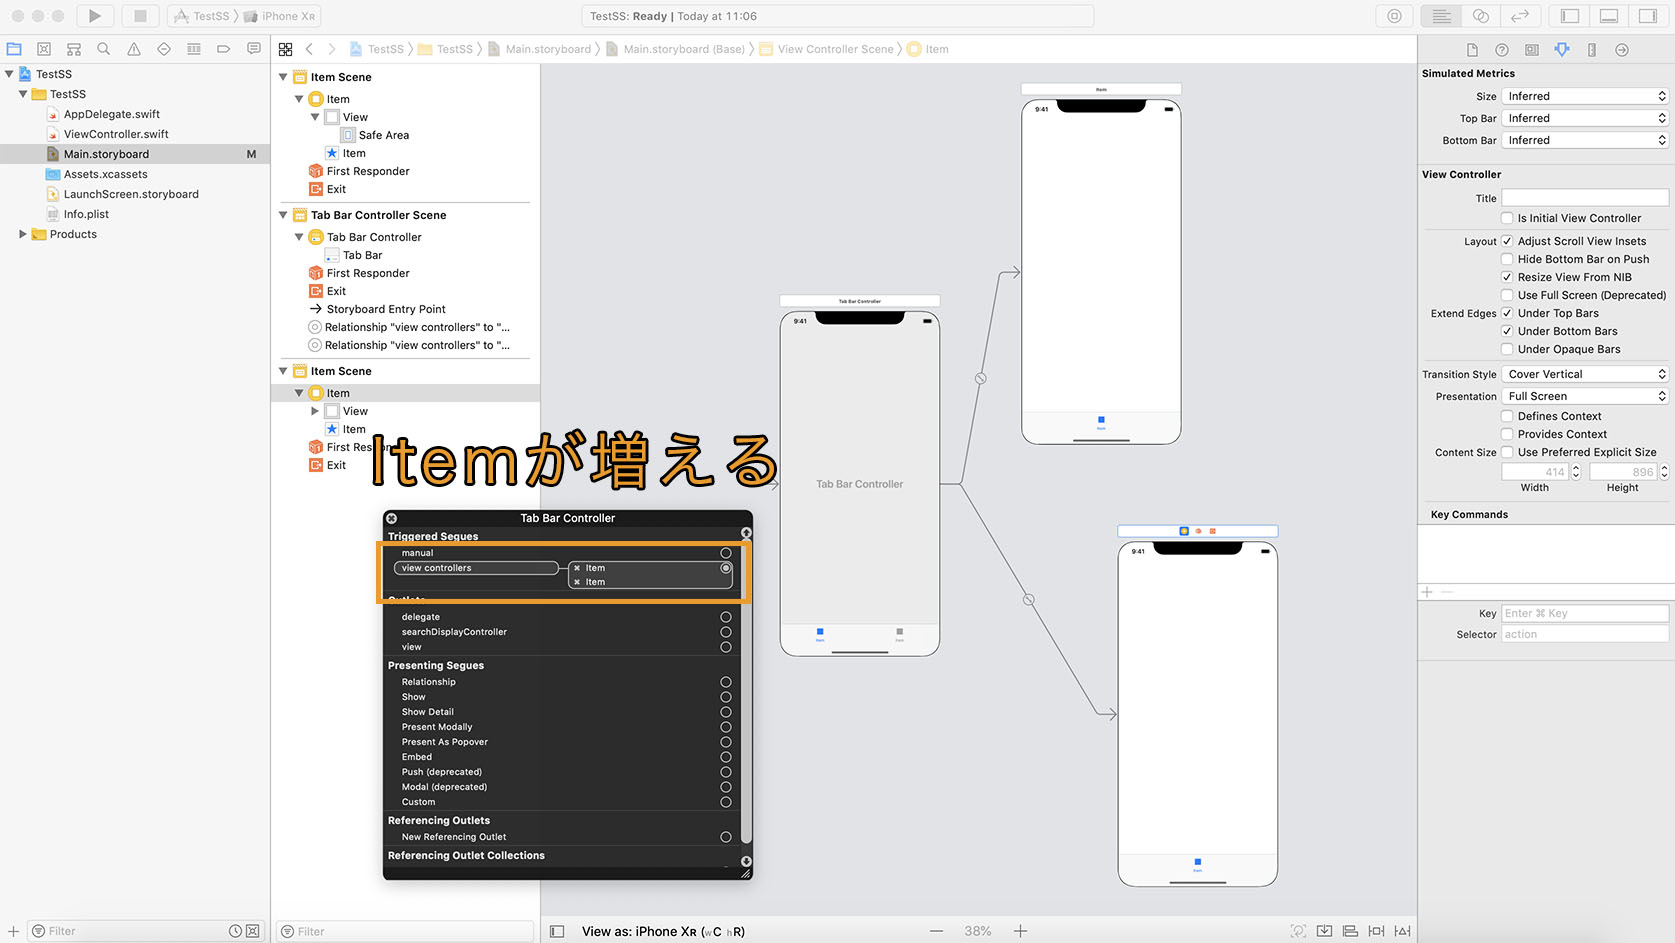
黒いウィンドウのview controllersのItmeが2つに増え、TabBarControllerから2つのViweControllerに向かって矢印の線が出るようになります。これで設定は完了です。