【Swift5】UITabBarの色、背景画像、サイズやアイコン文字の色、フォント、サイズ、位置の調整まで網羅フルカスタマイズまとめ【Objective-C】

UITabBarの背景色・背景画像の設定や背景の透過、UITabBarのアイコン・文字の色やサイズ、位置の調整や文字のフォントの変更など、タブバーに関するありとあらゆるカスタマイズを全てご紹介いたします!
こちらを見ていただければタブバーのカスタマイズでどんなことができるかすぐにわかりますし、誰でも簡単にコピペでつかえるようにご紹介しています。是非参考にしてください。
UITabBarControllerを使ってUITabBarの表示の仕方がわからないという方はこちら!
関連記事
・StorybaordでUITabBarControllerを使用した画面構築の方法
・StoryboardでUITabBarのアイコン画像を設定する方法
・StoryboardでUITabBarのタイトル文字を設定する方法
・StoryboardでUITabBarのアイコン画像を設定する方法
・StoryboardでUITabBarのタイトル文字を設定する方法
1. アイコン・文字の色を一括変更する方法(お手軽設定)
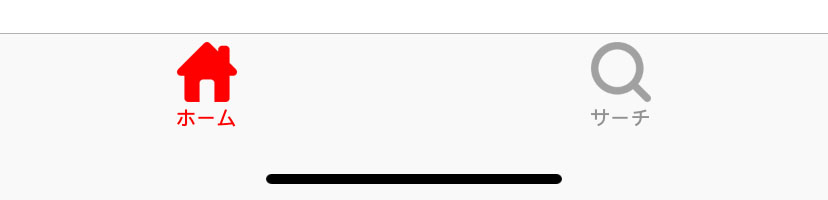
Swift5
// 画像と文字の選択時の色を指定(未選択字の色はデフォルトのまま)
UITabBar.appearance().tintColor = UIColor.red
Objective-C
// 画像と文字の選択時の色を指定(未選択字の色はデフォルトのまま)
[[UITabBar appearance] setTintColor:[UIColor redColor]];
2. 文字の色・フォントを一括変更する方法(お手軽設定)
Swift5
// 文字の選択時・未選択時の色・フォントを指定(フォントは最初に指定したものが優先される)
UITabBarItem.appearance().setTitleTextAttributes( [ .font : UIFont.init(name: "HelveticaNeue-Bold", size: 10),
                                                    .foregroundColor : UIColor.blue ],
                                                  for: .normal)
UITabBarItem.appearance().setTitleTextAttributes( [ .font : UIFont.init(name: "HelveticaNeue-Bold", size: 10),
                                                    .foregroundColor : UIColor.red],
                                                  for: .selected)
Objective-C
// 文字の選択時・未選択時の色・フォントを指定(フォントは最初に指定したものが優先される)
[[UITabBarItem appearance] setTitleTextAttributes:@{ NSFontAttributeName : [UIFont fontWithName:@"HelveticaNeue-Bold" size:10.0f],
NSForegroundColorAttributeName : [UIColor blueColor]}
forState:UIControlStateNormal];
[[UITabBarItem appearance] setTitleTextAttributes:@{ NSFontAttributeName : [UIFont fontWithName:@"HelveticaNeue-Bold" size:10.0f],
NSForegroundColorAttributeName : [UIColor redColor]}
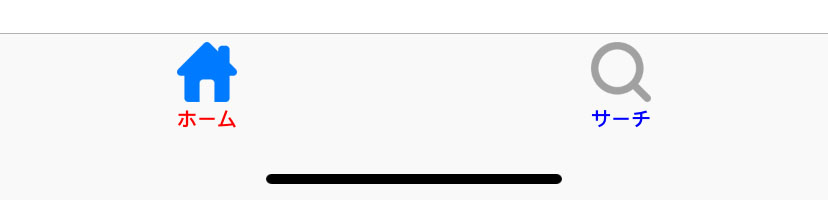
forState:UIControlStateSelected];3. アイコン・文字の色・フォントを個別に設定する方法(おすすめ設定)
Swift5
class ViewController: UIViewController {

    override func viewDidLoad() {
        super.viewDidLoad()
        // Do any additional setup after loading the view.

    }

    override func viewWillAppear(_ animated: Bool) {
        super.viewWillAppear(animated)

        self.setTabBarItem(index: 0, titile: "ホーム", image: UIImage(named: "tab_home_off")!, selectedImage: UIImage(named: "tab_home_on")!, offColor: UIColor.blue, onColor: UIColor.red)
        self.setTabBarItem(index: 1, titile: "サーチ", image: UIImage(named: "tab_search_off")!, selectedImage: UIImage(named: "tab_search_on")!, offColor: UIColor.gray, onColor: UIColor.black)

        UITabBarItem.appearance().setTitleTextAttributes([.font : UIFont.systemFont(ofSize: 11)], for: .normal)
        UITabBarItem.appearance().setTitleTextAttributes([.font : UIFont.systemFont(ofSize: 11)], for: .selected)

    }

    func setTabBarItem(index: Int, titile: String, image: UIImage, selectedImage: UIImage,  offColor: UIColor, onColor: UIColor) -> Void {
        let tabBarItem = self.tabBarController?.tabBar.items![index]
        tabBarItem!.title = titile
        tabBarItem!.image = image.withRenderingMode(.alwaysOriginal)
        tabBarItem!.selectedImage = selectedImage.withRenderingMode(.alwaysOriginal)
        tabBarItem!.setTitleTextAttributes([ .foregroundColor : offColor], for: .normal)
        tabBarItem!.setTitleTextAttributes([ .foregroundColor : onColor], for: .selected)
    }

}
Objective-C
@implementation ViewController

- (void)viewDidLoad {
    [super viewDidLoad];
    // Do any additional setup after loading the view.
}

- (void)viewWillAppear:(BOOL)animated {
    [super viewWillAppear:animated];

    [self setTabBarItemWithIndex:0 title:@"ホーム" offImage:[UIImage imageNamed:@"tab_home_off"] onImage:[UIImage imageNamed:@"tab_home_on"] offColor:[UIColor blueColor] onColor:[UIColor redColor]];
    [self setTabBarItemWithIndex:1 title:@"サーチ" offImage:[UIImage imageNamed:@"tab_search_off"] onImage:[UIImage imageNamed:@"tab_search_on"] offColor:[UIColor grayColor] onColor:[UIColor blackColor]];
    [[UITabBarItem appearance] setTitleTextAttributes:@{ NSFontAttributeName : [UIFont fontWithName:@"HelveticaNeue-Bold" size:10.0f]} forState:UIControlStateNormal];
    [[UITabBarItem appearance] setTitleTextAttributes:@{ NSFontAttributeName : [UIFont fontWithName:@"HelveticaNeue-Bold" size:10.0f]} forState:UIControlStateSelected];

}

- (void)setTabBarItemWithIndex:(int)index
                         title:(NSString *)title
                      offImage:(UIImage *)offImage
                       onImage:(UIImage *)onImage
                      offColor:(UIColor *)offColor
                       onColor:(UIColor *)onColor{
    UITabBarItem *tabBarItem = self.tabBarController.tabBar.items[index];
    tabBarItem.title = title;
    tabBarItem.image = [offImage imageWithRenderingMode:UIImageRenderingModeAlwaysOriginal];
    tabBarItem.selectedImage = [onImage imageWithRenderingMode:UIImageRenderingModeAlwaysOriginal];
    [tabBarItem setTitleTextAttributes:@{ NSForegroundColorAttributeName : offColor} forState:UIControlStateNormal];
    [tabBarItem setTitleTextAttributes:@{ NSForegroundColorAttributeName : onColor} forState:UIControlStateSelected];
}

@end
4. 背景色を変更する方法(お手軽設定)
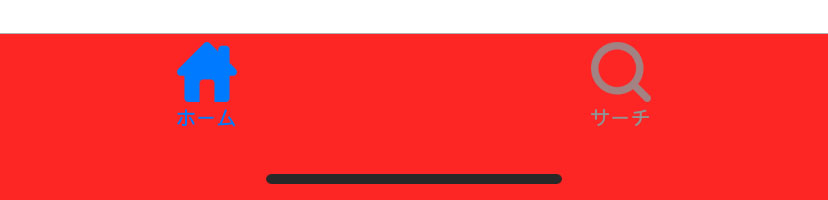
Swift5
UITabBar.appearance().barTintColor = UIColor.redObjective-C
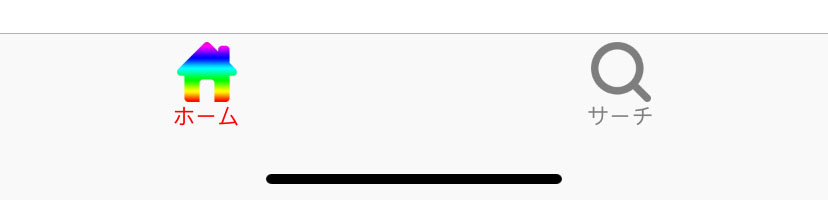
[[UITabBar appearance] setBarTintColor:[UIColor redColor]];5. 背景に画像を設定する方法(おすすめしない設定)
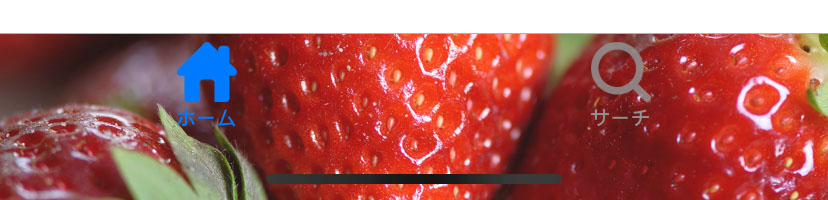
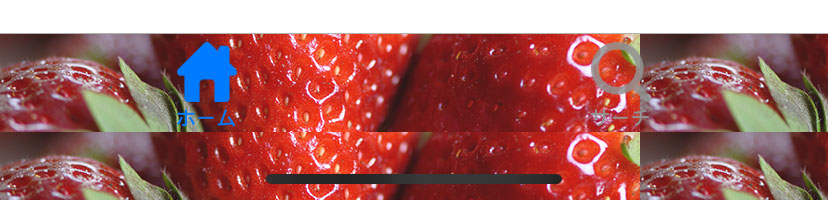
ちなみに端末ごとにあった画像を作成、設定しないと2つ目のようになります。
端末ごとの画像サイズは下記の記事に書いています。
関連記事
Swift5
UITabBar.appearance().backgroundImage = UIImage.init(named: "tab_image_6.5")Objective-C
[UITabBar appearance].backgroundImage = [UIImage imageNamed:@"tab_image_6.5"];6. 背景と境界線を透明にする方法

Swift5
// 背景の透過
UITabBar.appearance().backgroundImage = UIImage()
// 境界線の透過
UITabBar.appearance().shadowImage = UIImage()
Objective-C
// 背景の透過
[[UITabBar appearance] setBackgroundImage:[UIImage new]];
// 境界線の透過
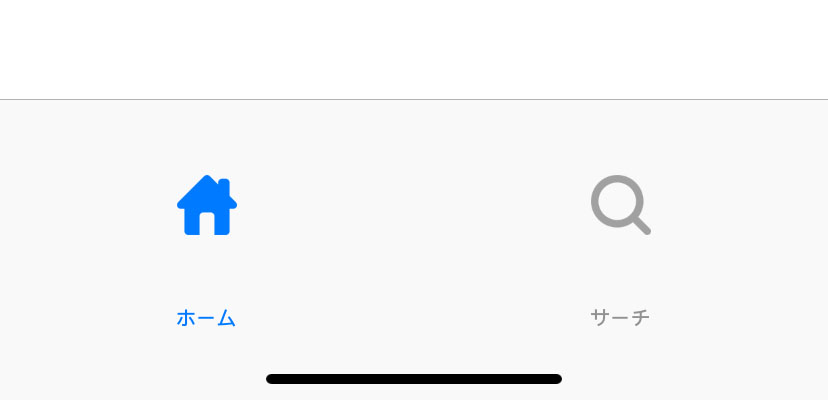
[[UITabBar appearance] setShadowImage:[UIImage new]];7. UITabBarのサイズを変更する方法
Swift5
import UIKit

class CustomTabBar: UITabBar {

    override func sizeThatFits(_ size: CGSize) -> CGSize {
        var sizeThatFits = super.sizeThatFits(size)
        sizeThatFits.height = 150
        return sizeThatFits;
    }

}
Objective-C
#import <UIKit/UIKit.h>

NS_ASSUME_NONNULL_BEGIN

@interface CustomTabBar : UITabBar

@end

NS_ASSUME_NONNULL_END
#import "CustomTabBar.h"
@implementation CustomTabBar
- (CGSize)sizeThatFits:(CGSize)size {
CGSize sizeThatFits = [super sizeThatFits:size];
sizeThatFits.height = 150;
return sizeThatFits;
}
@end上記でよくわからない場合、下記の記事で詳しく説明しています。
関連記事
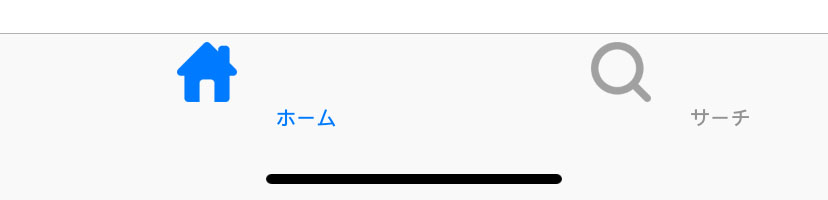
8. アイコンのサイズ・位置を変更する方法
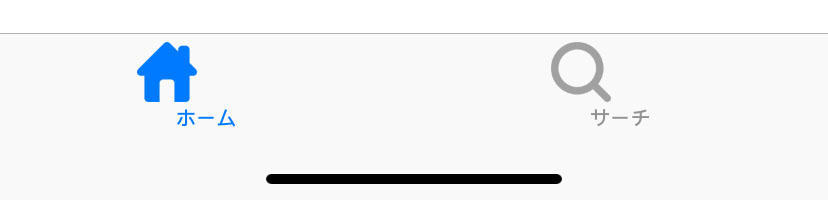
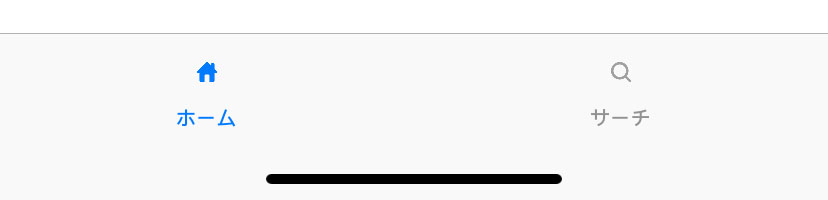
このように位置の変更だけでなく、サイズの変更も可能です。
Swift5
class ViewController: UIViewController {

    override func viewDidLoad() {
        super.viewDidLoad()
        // Do any additional setup after loading the view.

        for item in (self.tabBarController?.tabBar.items)! {
            item.imageInsets = UIEdgeInsets(top: 0, left: -20, bottom: 0, right: 20)
        }

    }

}
Objective-C
@implementation ViewController

- (void)viewDidLoad {
    [super viewDidLoad];
    // Do any additional setup after loading the view.

    for (UITabBarItem *item in self.tabBarController.tabBar.items) {
        item.imageInsets = UIEdgeInsetsMake(0, -20, 0, 20);
    }

}

@end
9. タイトルの位置を変更する方法
UITabBarのタイトルだけを移動させたい場合は、画像とタイトルを同時に動かした後に、画像だけを戻すように設定することでタイトルだけ移動させることができます。
Swift5
// 画像と文字を右に50ずらす
UITabBarItem.appearance().titlePositionAdjustment = UIOffset(horizontal: 50, vertical: 0);
// 画像を左に50もどす
for item in (self.tabBarController?.tabBar.items)! {
    item.imageInsets = UIEdgeInsets(top: 0, left: -50, bottom: 0, right: 50)
}
Objective-C
// 画像と文字を右に50ずらす
[[UITabBarItem appearance] setTitlePositionAdjustment:UIOffsetMake(50, 0)];
// 画像を左に50もどす
for (UITabBarItem *item in self.tabBarController.tabBar.items) {
    item.imageInsets = UIEdgeInsetsMake(0, -50, 0, 50);
}
まとめ
UITabBarのカスタマイズのまとめ以下がでしたでしょうか?
色やフォントだけでなくフォントやサイズや位置まで調整できるとデザインの幅がグッと広がる気がします!